<h1>How to Create a Website on WordPress: Step-by-Step</h1>
<h2>Introduction</h2>
Creating a website on WordPress has become one of the most accessible and affordable ways to establish your online presence. Whether you’re launching a blog, a business site, or a professional portfolio, the ease of building with WordPress is unparalleled. It's a vast ocean of options where millions have dipped their toes, discovering everything from e-commerce potential to personal storytelling. Without needing to master complicated code, anyone can transform thoughts into a homepage that resonates.
But where do we even begin? It's like standing at the edge of a diving board, apprehensive yet excited. The key lies in understanding the landscape, which sets the stage for your bold leap into the digital realm.
<h2>Getting Started: Understanding Your WordPress Options</h2>
Before diving into the technical setup, it's vital to grasp the foundation on which your beautiful creation will stand. WordPress comes in two flavors: <b>WordPress.org</b> and <b>WordPress.com</b>. Each offers unique advantages.
- **WordPress.org** gives you the reins, allowing complete control over customization and functionality. This self-hosted option lets you purchase hosting and a domain separately, perfect for those who wish to craft their site meticulously.
- **WordPress.com**, in contrast, presents a more managed experience. Here, the complexities are handled for you—a great starting point for newcomers who want to keep things simple.
Imagine walking into a massive hardware store filled with tools. You can choose what you need (or not) based on how much labor you want to put in.
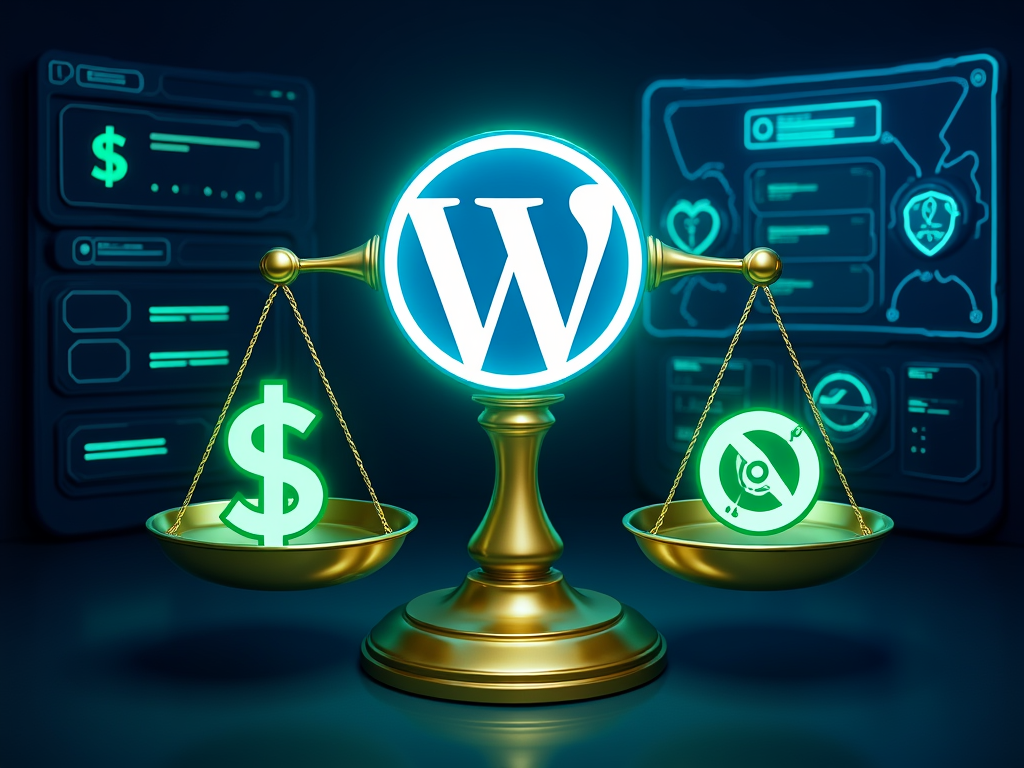
<h2>Step 1: Choose Your Hosting Provider</h2>
<h3>Understanding Hosting Options</h3>
Your WordPress website’s foundation rests on reliable web hosting. Shared hosting resonates with most beginners due to its affordability and user-friendly nature. Picture this: your website is a cozy café sharing space with other small businesses, collectively benefiting from foot traffic while keeping individual costs low.
When exploring hosting options, consider these champions:
<table>
<tr>
<th>Hosting Provider</th>
<th>Starting Price</th>
<th>Free Domain</th>
<th>Disk Space</th>
<th>Best For</th>
</tr>
<tr>
<td>Bluehost</td>
<td>$2.99/month</td>
<td>Yes (1st year)</td>
<td>10GB</td>
<td>WordPress beginners, official recommendation</td>
</tr>
<tr>
<td>SiteGround</td>
<td>$2.99/month</td>
<td>Yes (1st year)</td>
<td>10GB</td>
<td>Performance and support seekers</td>
</tr>
<tr>
<td>Hostinger</td>
<td>$2.69/month</td>
<td>Yes (1st year)</td>
<td>100GB</td>
<td>Flexibility and multi-site hosts</td>
</tr>
<tr>
<td>WordPress.com</td>
<td>$12.50/month</td>
<td>Yes (1st year)</td>
<td>50GB</td>
<td>Hands-off approach</td>
</tr>
</table>
Each of these options has unique strengths, but *Bluehost* shines bright as a user-friendly choice linked with WordPress for beginners, while *Hostinger* piques interest for budget-minded creators.
<h3>Key Hosting Features to Prioritize</h3>
When choosing a host, ensure they offer these vital features:
- **One-click WordPress installation** for hassle-free setups
- **Free domain registration** to kick off your site
- **Free SSL certificate** for online security
- **Automated backups** to keep your content secure
- **24/7 customer support** for peace of mind
- **Beginner-friendly control panel** like cPanel to navigate easily
These elements pave the way for smooth beginnings as you focus on creating.
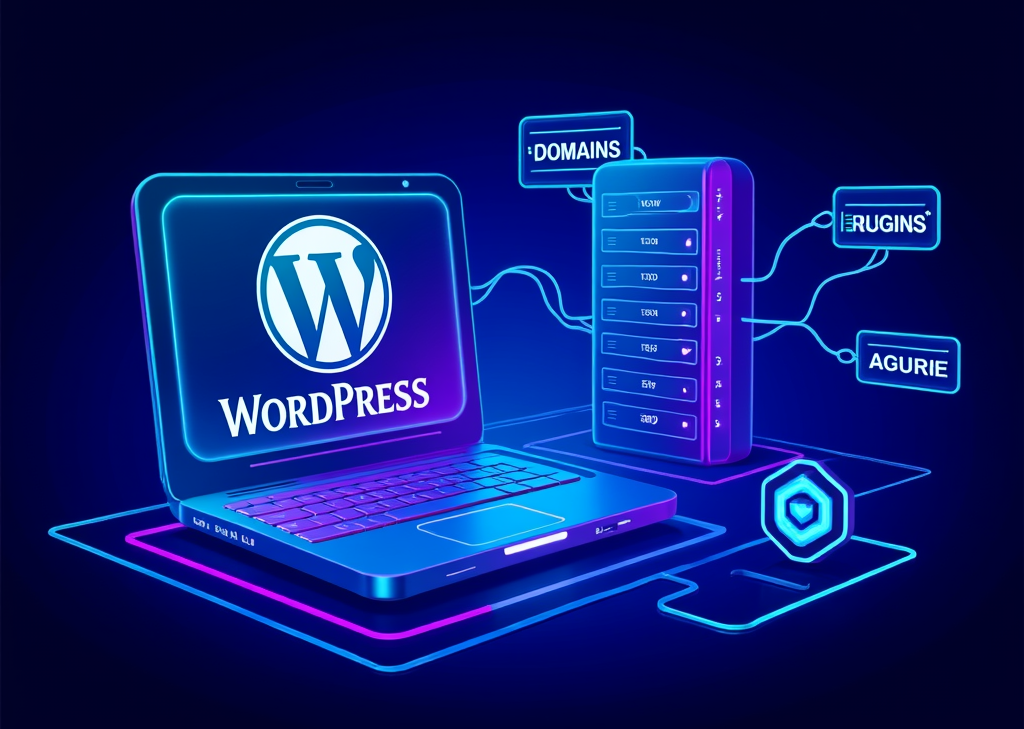
<h2>Step 2: Register Your Domain Name</h2>
Your domain name acts as the front door to your online space—how visitors will find you. Visualize it as the inviting sign out front of your café. Most hosting providers include **free domain registration for the first year**, making it budget-friendly for newcomers.
Here’s how to select your perfect domain name:
- Reflect your brand or business clearly.
- Choose something memorable and simple to spell.
- Incorporate target keywords when fitting.
- Stay away from numbers or hyphens if possible.
During the sign-up process, you will enter your desired domain name and check its availability. If it’s taken, don’t despair. Most registrars offer helpful suggestions.
<h2>Step 3: Install WordPress</h2>
<h3>Automated Installation Process</h3>
One of the most appealing aspects of modern web hosting is the **one-click WordPress installation** magic. Hosting providers often furnish simple tools like **Softaculous Apps Installer**, allowing even the most novice users to setup WordPress without breaking a sweat.
Follow this simple sequence to install WordPress:
1. Log in to your hosting control panel (typically cPanel).
2. Locate your installer tool.
3. Select WordPress from the application list.
4. Fill in the site details like the site title and admin credentials.
5. Choose installation directory preferences.
6. Click Install and watch the progress unfold.
Once confirmed, you’ll welcome your new WordPress dashboard.
<h2>Step 4: Configure Basic WordPress Settings</h2>
<h3>Initial Setup and Configuration</h3>
With WordPress installed, the real fun kicks off—configuring your site settings. Navigate to the **Settings** menu in your WordPress dashboard and customize elements that matter most.
<b>Essential settings you should adjust:</b>
- **Site Title and Tagline**: Define what your site stands for.
- **URL**: Match this with your domain.
- **Timezone**: Sync with your local time for accurate postings.
- **Homepage Settings**: Decide on either a static or blog-style front.
These foundational touches elevate user experience and set favorable SEO vibes from the get-go.
<h2>Step 5: Choose and Install Your Theme</h2>
<h3>Understanding WordPress Themes</h3>
No website is complete without a stylish outfit—here’s where WordPress themes come in. Think of them as the colors and patterns that set your café’s ambiance. Hundreds of thousands are available, catering to various purposes and aesthetics.
<h3>Selecting the Right Theme</h3>
When sifting through themes, keep these factors in mind:
- **Responsiveness**: Ensure mobile users enjoy your design.
- **Customization features**: Will it allow the look you envision?
- **Performance**: A theme should never slow your site down.
- **Support and updates**: Themes that are actively maintained stand the test of time.
<h3>Installing Your Theme</h3>
To install from the WordPress repository, follow these steps:
1. Navigate to **Appearance → Themes**.
2. Click **Add New**.
3. Browse or search for your perfect theme.
4. Click **Install** on your selection.
5. Activate it to breathe new life into your site.
Alternatively, if you've purchased a premium theme, upload it directly and activate it. Your site’s first impression matters; make it count!
<h2>Step 6: Install Essential Plugins</h2>
<h3>What Are WordPress Plugins?</h3>
Plugins are like your café’s special ingredients, adding unique flavors and capabilities without needing a full kitchen renovation. The WordPress plugin library boasts thousands of options to enhance your site.
<h3>Must-Have Plugins for New Websites</h3>
For a robust start, consider installing:
- **Yoast SEO**: Your guide for optimizing content.
- **Wordfence Security**: A solid defense against cyber threats.
- **Contact Form 7**: Professional-looking forms with ease.
- **Elementor**: Drag-and-drop design tool for custom layouts.
<h3>Installing Plugins</h3>
To add a plugin,
1. Go to **Plugins → Add New**.
2. Search for your desired plugin.
3. Click **Install Now** and then **Activate**.
4. Dive into settings to customize your plugin’s functionality.
These tools will uplift your creation’s experience to visitors, enhancing functionality while drawing in wary users.
<h2>Step 7: Create Your Site's Essential Pages</h2>
<h3>Understanding Pages vs. Posts</h3>
It’s crucial to differentiate between **pages** and **posts**. Pages hold static content (like an About page) while posts are dynamic, date-oriented entries ideal for blogs.
<h3>Must-Have Pages for Every Website</h3>
Dive into creating these core pages for a professional touch:
- **Homepage**: Your storefront—make it inviting and captivating.
- **About Page**: Share your story; let people know who you are.
- **Contact Page**: It should scream “get in touch!” with forms and details.
- **Services or Products Page**: Spark interest in what you’re offering.
- **Privacy Policy and Terms of Service**: Keep it legal and transparent.
<h3>Creating Pages</h3>
To create a new page, simply go to **Pages → Add New**. Fill in the title, craft content, set featured images, and hit **Publish**.
As you build your content, remember—quality over quantity. Address your audience's questions and paint their needs through your narrative.
<h2>Step 8: Customize Your Site's Appearance</h2>
<h3>Personalizing Your Theme</h3>
Tap into the visual magic hidden in your theme using the **Appearance → Customize** option. It’s your canvas—play with colors, typography, and layout until it feels just right.
<b>Key customization elements you can tweak:</b>
- **Site Identity**: Logo and favicon display.
- **Colors and Typography**: Reflect your brand’s identity.
- **Navigation Menu**: Guide users smoothly through your site.
- **Widgets**: Engage users with recent posts, categories, and varied content.
<h2>Step 9: Add Content and Optimize for Search Engines</h2>
<h3>Creating Your First Posts or Pages</h3>
Once your pages are ready, it’s time to dive into crafting engaging content that speaks to your audience. Every piece should serve a purpose, prioritizing keyword integration that aligns with what users might search.
<h3>Basic SEO Optimization</h3>
Embrace basic SEO practices to extend your reach. Apply descriptive titles, compelling meta descriptions, and ensure images have appropriate alt text. The more accessible you make your content, the richer the engagement.
BEST OFFERS:
Do you want to create your own company website or create your own online business on the Internet?
– WEB HOSTING
– DOMAIN REGISTRATION
– WEB DEVELOPMENT
– SITE BUILDER


“`html
Step 10: Set Up Analytics and Tracking
Monitoring Your Website Performance
Understanding your website's performance is crucial for its success. Installing Google Analytics provides comprehensive insights into user behavior, traffic sources, and content engagement. Imagine this as your café’s foot traffic analysis, helping you understand where customers linger and what draws them in.
To connect Google Analytics to your WordPress site:
- Create a Google Analytics account at analytics.google.com.
- Set up a property for your website.
- Copy your tracking code (or measurement ID).
- Install a plugin like MonsterInsights and paste your tracking ID in the plugin settings.
- Verify your connection and allow up to 24 hours for data collection.
With this data, you'll get a clear view of your audience's tastes, habits, and preferences—essential knowledge for crafting relevant content and adjusting your strategies.
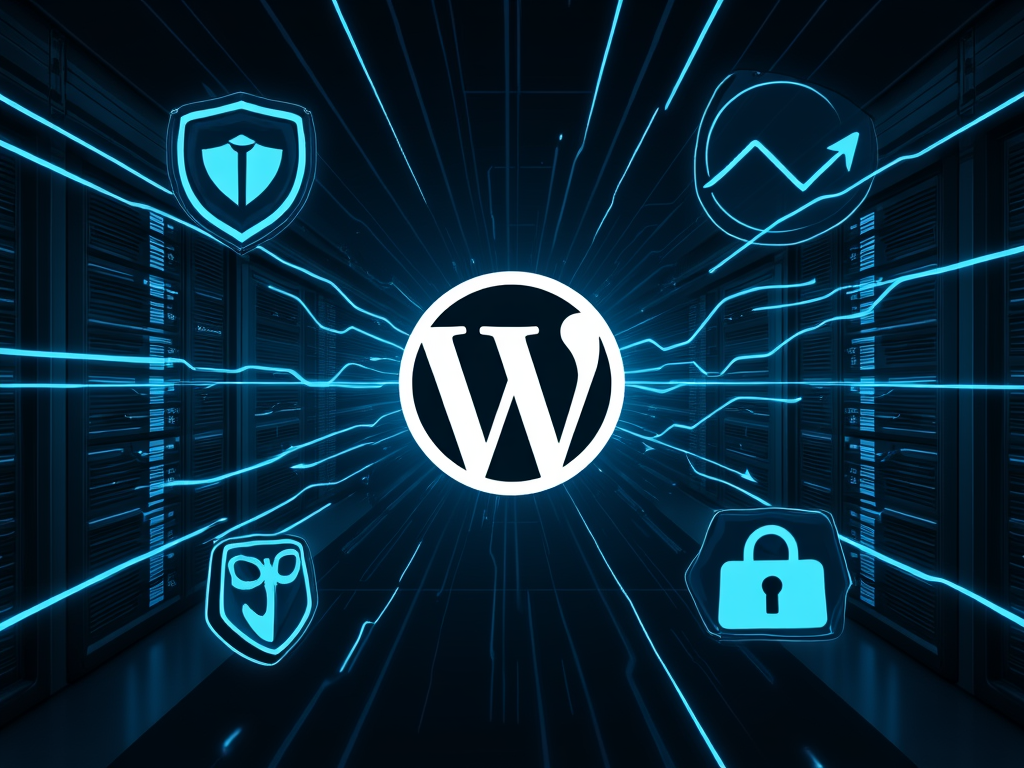
Step 11: Implement Security Measures
Protecting Your Website
Website security is not just a luxury; it’s a necessity. Cyber threats are real, and they don’t discriminate. Start by installing a security plugin like Wordfence Security, which provides comprehensive threat monitoring.
Here are essential security steps to safeguard your site:
- Use strong passwords with a mix of characters.
- Enable two-factor authentication for added security.
- Keep WordPress, plugins, and themes regularly updated to avoid vulnerabilities.
- Remove inactive plugins and themes to minimize potential exploits.
- Utilize an SSL certificate (HTTPS) for secure communication—most hosts provide this for free.
Take the time to fortify your site against threats; your peace of mind is invaluable when managing an online presence.
Step 12: Back Up Your Website
Creating Disaster Recovery Plans
Picture this: your best recipes are lost in a kitchen fire. That's what it feels like when a website goes down without backups. Regular backups protect your site from getting lost in the digital ether due to technical glitches, hacking, or human errors.
Backup options include:
- Automated backups from your hosting provider—usually included.
- Backup plugins like UpdraftPlus, which store backups securely in cloud storage.
- Manual backups by downloading your complete site files periodically.
Decide how frequently to back up based on your activity level. Daily backups are essential for sites frequently updated, while weekly may suffice for static sites.
Step 13: Launch Your Website
Taking Your Site Live
With everything in place, it’s time to go live! Before you announce your arrival to the world, conduct a thorough pre-launch checklist. Test all pages, links, and forms to ensure everything works seamlessly. Verify your site's responsiveness on various devices and ensure quick loading times.
A reliable checklist includes:
- Test every page and link.
- Validate form submissions.
- Confirm that images load correctly.
- Check for spelling and grammar errors throughout the site.
- Make sure all SEO elements are optimized and in place.
When everything looks perfect, it’s time to share your creation with the world! Utilize social media platforms, email lists, and community forums to build excitement.
Step 14: Maintain and Grow Your Website
Ongoing WordPress Maintenance
Launching your site is just the beginning of your digital journey. Successful websites require ongoing maintenance to ensure they are secure, performant, and continuously evolving with user interests.
Essential maintenance tasks include:
- Regular updates for WordPress core, themes, and plugins to incorporate security patches.
- Monitoring site performance through analytics to identify areas for improvement.
- Consistently creating fresh content to keep your audience engaged.
- Engaging with your audience through comments and feedback to foster community.
- Promoting your content across various channels to attract new visitors.
As you nurture your website, you'll establish a thriving space that adapitates to its visitors' needs while showcasing your unique voice and vision.
Conclusion
Creating a website on WordPress is a rewarding endeavor. By following these systematic steps—from choosing hosting and configuring settings to maintaining security and engaging visitors—you’ve built a foundation that set your website on the path to success. Keep nurturing your digital creation, ensuring it evolves in line with best practices and user interests. The possibilities are vast; as you foster growth, your website can become a substantial asset for your brand, business, or creative passion.
Should you wish to extend your learning further, consider exploring additional resources through these videos:
- How to Create a WordPress Website – 2023 Tutorial
- WordPress Security: How to Secure Your Website
- Google Analytics for Beginners: Understanding Website Data
Now, dive in, explore, and let your creativity shine through your new WordPress website!
<a target="_blank" href="https://www.finddomain.ge/en/">FINDDOMAIN.GE (Internet services LLC) is a very interesting and rapidly developing IT company. The main directions are: web development, domain and web hosting. It also offers clients sub-services and outsourcing related to the main services.</a>
<br/><br/>
<hr>
<strong>
BEST OFFERS:<br/>
Do you want to create your own company website or create your own online business on the Internet? </strong>
<a target="_blank" href="https://www.finddomain.ge/en/hosting/">- WEB HOSTING</a>
<a target="_blank" href="https://billing.finddomain.ge/cart.php?a=add&domain=register&language=english">- DOMAIN REGISTRATION</a>
<a target="_blank" href="https://www.finddomain.ge/en/web-development/">- WEB DEVELOPMENT</a>
<a target="_blank" href="https://www.finddomain.ge/en/site-builder/">- SITE BUILDER</a>
</br>
<a href="https://www.finddomain.ge/en/hosting/" target="_blank" rel="noopener"><img src="https://besthosting.ge/wp-content/uploads/2025/08/hosting-banner_en.jpg" /></a>
</br>
<a href="https://billing.finddomain.ge/cart.php?a=add&domain=register&language=english/" target="_blank" rel="noopener"><img src="https://besthosting.ge/wp-content/uploads/2025/08/domain-registration-en.jpg" /></a>
</br>
<a href="https://www.finddomain.ge/en/web-development/" target="_blank" rel="noopener"><img src="https://besthosting.ge/wp-content/uploads/2025/08/web-development-en.png" /></a>
</br>